| .github/ISSUE_TEMPLATE | ||
| cfg | ||
| docs | ||
| lib | ||
| log | ||
| scripts | ||
| static | ||
| templates | ||
| CODE_OF_CONDUCT.md | ||
| LICENSE | ||
| nohup_test.sh | ||
| README.md | ||
| requirements.txt | ||
| SECURITY.md | ||
| test.sh | ||
| webapp.py | ||
| wsgi.py | ||
 SPIDERWEB
Ham radio cluster web viewer for DxSpider
![]()

![]()
![]()
- Release: v2.4
- Author: Corrado Gerbaldo - IU1BOW.
- Mail: corrado.gerbaldo@gmail.com
- Licensing: Gpl V3.0 see "LICENSE" file.
- Languages: This application is written in Python 3.11/flask,Javascript and HTML
DXSpider is a great DX Cluster software that has a usefull telnet interface. I wrote this application in order to add a web user interface to DXSpider and show the spots collected. The user could see 50 spots at time and filter them by band, spotter continent and spotted continent.
For this application I've used:
- Bootstrap for stylesheet CSS
- jQuery
- Apache ECharts for managing charts
- qrz.com For each callsing found you can click on lens and you'll see him on qrz.com
- flag-icon-css https://github.com/lipis/flag-icon-css I used it for show the country flags
- ng3k.com ng3k.com I used to get information about "Announced Dx Operations". Thanks to Bill/NG3K !!!
- silso sidc.be/silso used to show propagation trend in "Chart & stats" secion
You can find my web site at https://www.iu1bow.it
Changelog
see file "CHANGELOG.md"
Install
1) DXSpider First of all you have to installed [DXspider] (http://www.dxcluster.org/) and connected with some other cluster nodes.
2) MariaDB / MySQL
Then you have to install MariaDB on your web server, on the same server where DXSpider is running and configure DXSpider to use it: in your spider folder edit local/DXVars.pm adding these lines:
# the SQL database DBI dsn
$dsn = "dbi:mysql:dxcluster:localhost:3306";
$dbuser = "your-user";
$dbpass = "your-password";
If you would change some MariaDB parameters, then you can find them in /etc/mysql/my.cnf or /etc/my.cnf, depending on your distro.
If the database will not be created automatically, please see "DB_ISSUES.md"
3) Python modules
You could install python modules using automatic or manual way.
3.1) Automatic modules install
after downloaded spiderweb move in the main folder and install using requirements.txt file
 foo@bar:~$ cd spiderweb
 foo@bar:~$ pip install -r requirements.txt
3.2) Manual modules install
First of all you have to install the python3 pip installer
foo@bar:~$ sudo apt install python3-pip
This application is based on Flask To install Flask:
foo@bar:~$ pip install flask
foo@bar:~$ pip install Flask-minify
foo@bar:~$ pip install flask_wtf
foo@bar:~$ pip install pandas
Then you have to install mysql libraries**:
foo@bar:~$ pip install mysql-connector-python
foo@bar:~$ pip install --upgrade mysql-connector-python==8.0.12
Configuration
In the path spiderweb/cfg/ rename config.json.template in config.json:
foo@bar:~$ mv config.json.template config.json
then edit it and set the user and password of your database, the menu items, and other stuffs (callsign, mail address...). There is also a specific parameter, named "enable_cq_filter" used to enable the CQ Zone filtering.
Othewhise, if you prefer, you could use an utility for edit your configuration and menu. Go in "script" folder and run ./config.sh
foo@bar:~$ cd scripts
foo@bar:~$ ./config.sh

*** DxSpider configuration ***
Configuration file loaded from: ../cfg/config.json

   h:  help
   vc: view config.
   ec: edit config.
   vm: view menu
   em: edit menu
   s:  save
   t:  load config. from template

   x:  exit

Make your choiche:
Crontab
Starting from version 2.4, since all activities are managed by the application, you don't need to schedule anythings
Run test
Now you can run your web application with the following command:
foo@bar:~$ python3 webapp.py
The flask default port is 5000, so you can see your web app, typing http://localhost:5000 in your web browser.
Keep in mind that the flask web server, usually is used as a test server.
Production
There are some ways to use it in production.
My configuration is: Cloudflare + Nginx + Bjoern
Bjoern is a lightweight WSGI for python.
for install it:
foo@bar:~$ sudo apt install libev-dev libevdev2
foo@bar:~$ pip3 install bjoern
If you want you can make it as a daemon service. Create and edit a file named for example spiderweb.service (in the systemd folder)
foo@bar:~$ sudo nano /etc/systemd/system/spiderweb.service
Below an example of configuration:
[Unit]
Description=bjoern instance spiderweb
After=network.target
After=multi-user.target

[Service]
User=web
Group=www-data
Type=simple
WorkingDirectory=/home/web/spiderweb
Environment="PATH=/home/web/spiderweb"
ExecStart=/usr/bin/python3 /home/web/spiderweb/wsgi.py

[Install]
WantedBy=multi-user.target
Then you can install and start the daemon:
foo@bar:~$ sudo systemctl enable spiderweb.service
foo@bar:~$ sudo systemctl start spiderweb.service
foo@bar:~$ sudo systemctl status spiderweb.service

● spiderweb.service - bjoern instance spiderweb
   Loaded: loaded (/etc/systemd/system/spiderweb.service; enabled; vendor preset: enabled)
   Active: active (running) since Sun 2020-10-25 09:56:35 UTC; 8h ago
 Main PID: 6518 (python3)
    Tasks: 1 (limit: 420)
   CGroup: /system.slice/spiderweb.service
           └─6518 /usr/bin/python3 /home/web/spiderweb/wsgi.py

Oct 25 09:56:35 dxcluster01 systemd[1]: Started bjoern instance spiderweb.
Now you can install and configur NGINX
Install with:
foo@bar:~$ sudo apt install nginx
Configure:
sudo nano /etc/nginx/sites-available/myapp
server {
    listen 80;
    server_name iu1bow.it www.iu1bow.it;
    location ^~ /.well-known/ {
      alias /home/web/verify/.well-known/;
    }

    location / {
        ssi off;
        include proxy_params;
        proxy_pass http://localhost:8080/;
        proxy_set_header Host $host;
    }
}
For SSL I'm using Cloudflare. This is a free service that alow you to use https and a proxy cache.
Search engine indexing: when you are on-line, if you would to index your website on search engines, you have to generate a file named sitemap.xml and put it in /static/ folder. There are many tool to generate sitemap.xml, for example [www.xml-sitemaps.com] (https://www.xml-sitemaps.com/)
Index on MySQL: if you would to increase speed on callsign search, you could define some index on the table 'spot'. You can see more details on "create_mysql_index.sql"
Cookie settings: if you don't use https, but you use http, you have to change the following setting in webapp.py:
SESSION_COOKIE_SECURE=True,
to
SESSION_COOKIE_SECURE=False,
Mobile
This application is designed for desktop and mobile phone. It is a PWA so it could installed and used like an app on mobile.
API
Spot list
You can retrive last spots calling "/spotlist"; For example [www.iu1bow.com/spotlist] (https://www.iu1bow.com/spotlist)
country of a callsign
You cam retrive some informations about a callsign with callsign; For example [www.iu1bow.com/callsign?c=IU1BOW] (https://www.iu1bow.com/callsign?c=IU1BOW)
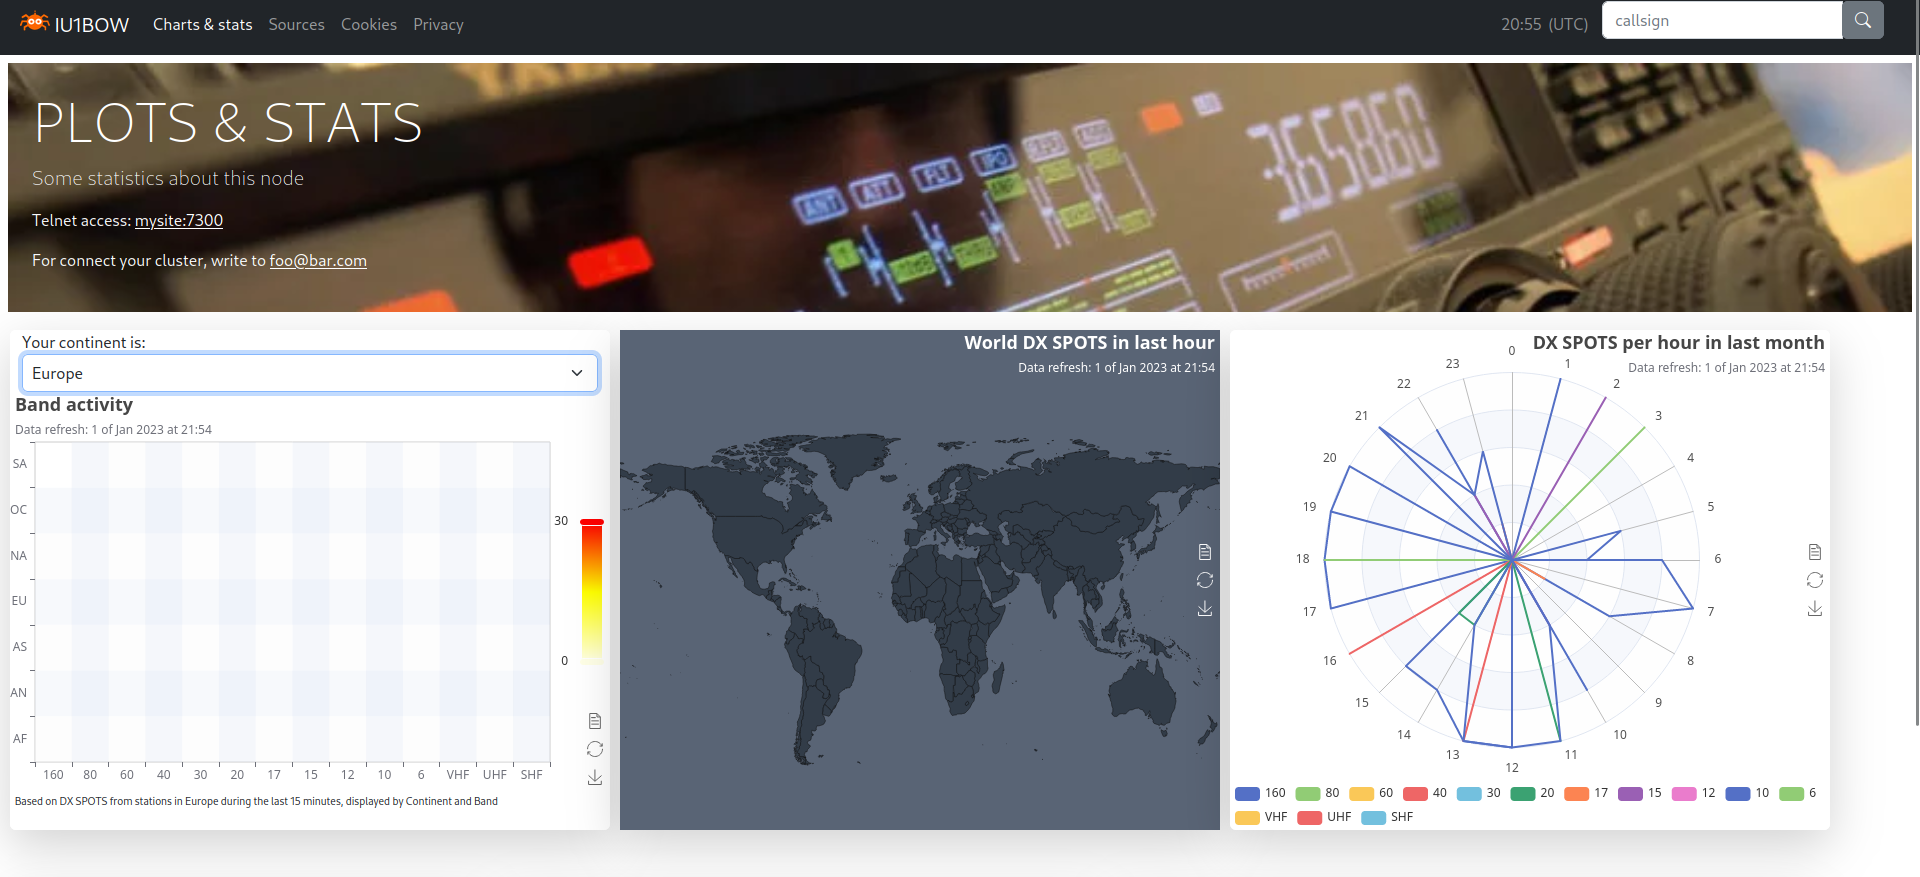
Screenshots
desktop

mobile


